
Blog
How To Make A Joint Filter
How To Make A Joint Filter
If you want to enjoy the best cannabis experience possible, learn how to make a filter for a joint. This simple step will improve the taste and quality of your joint, and make the entire experience more enjoyable.
If you want to get the most out of your weed, it pays to learn how to roll a filter. By mastering these simple techniques, you can enjoy a more intense high while using less weed. So why not give it a try?
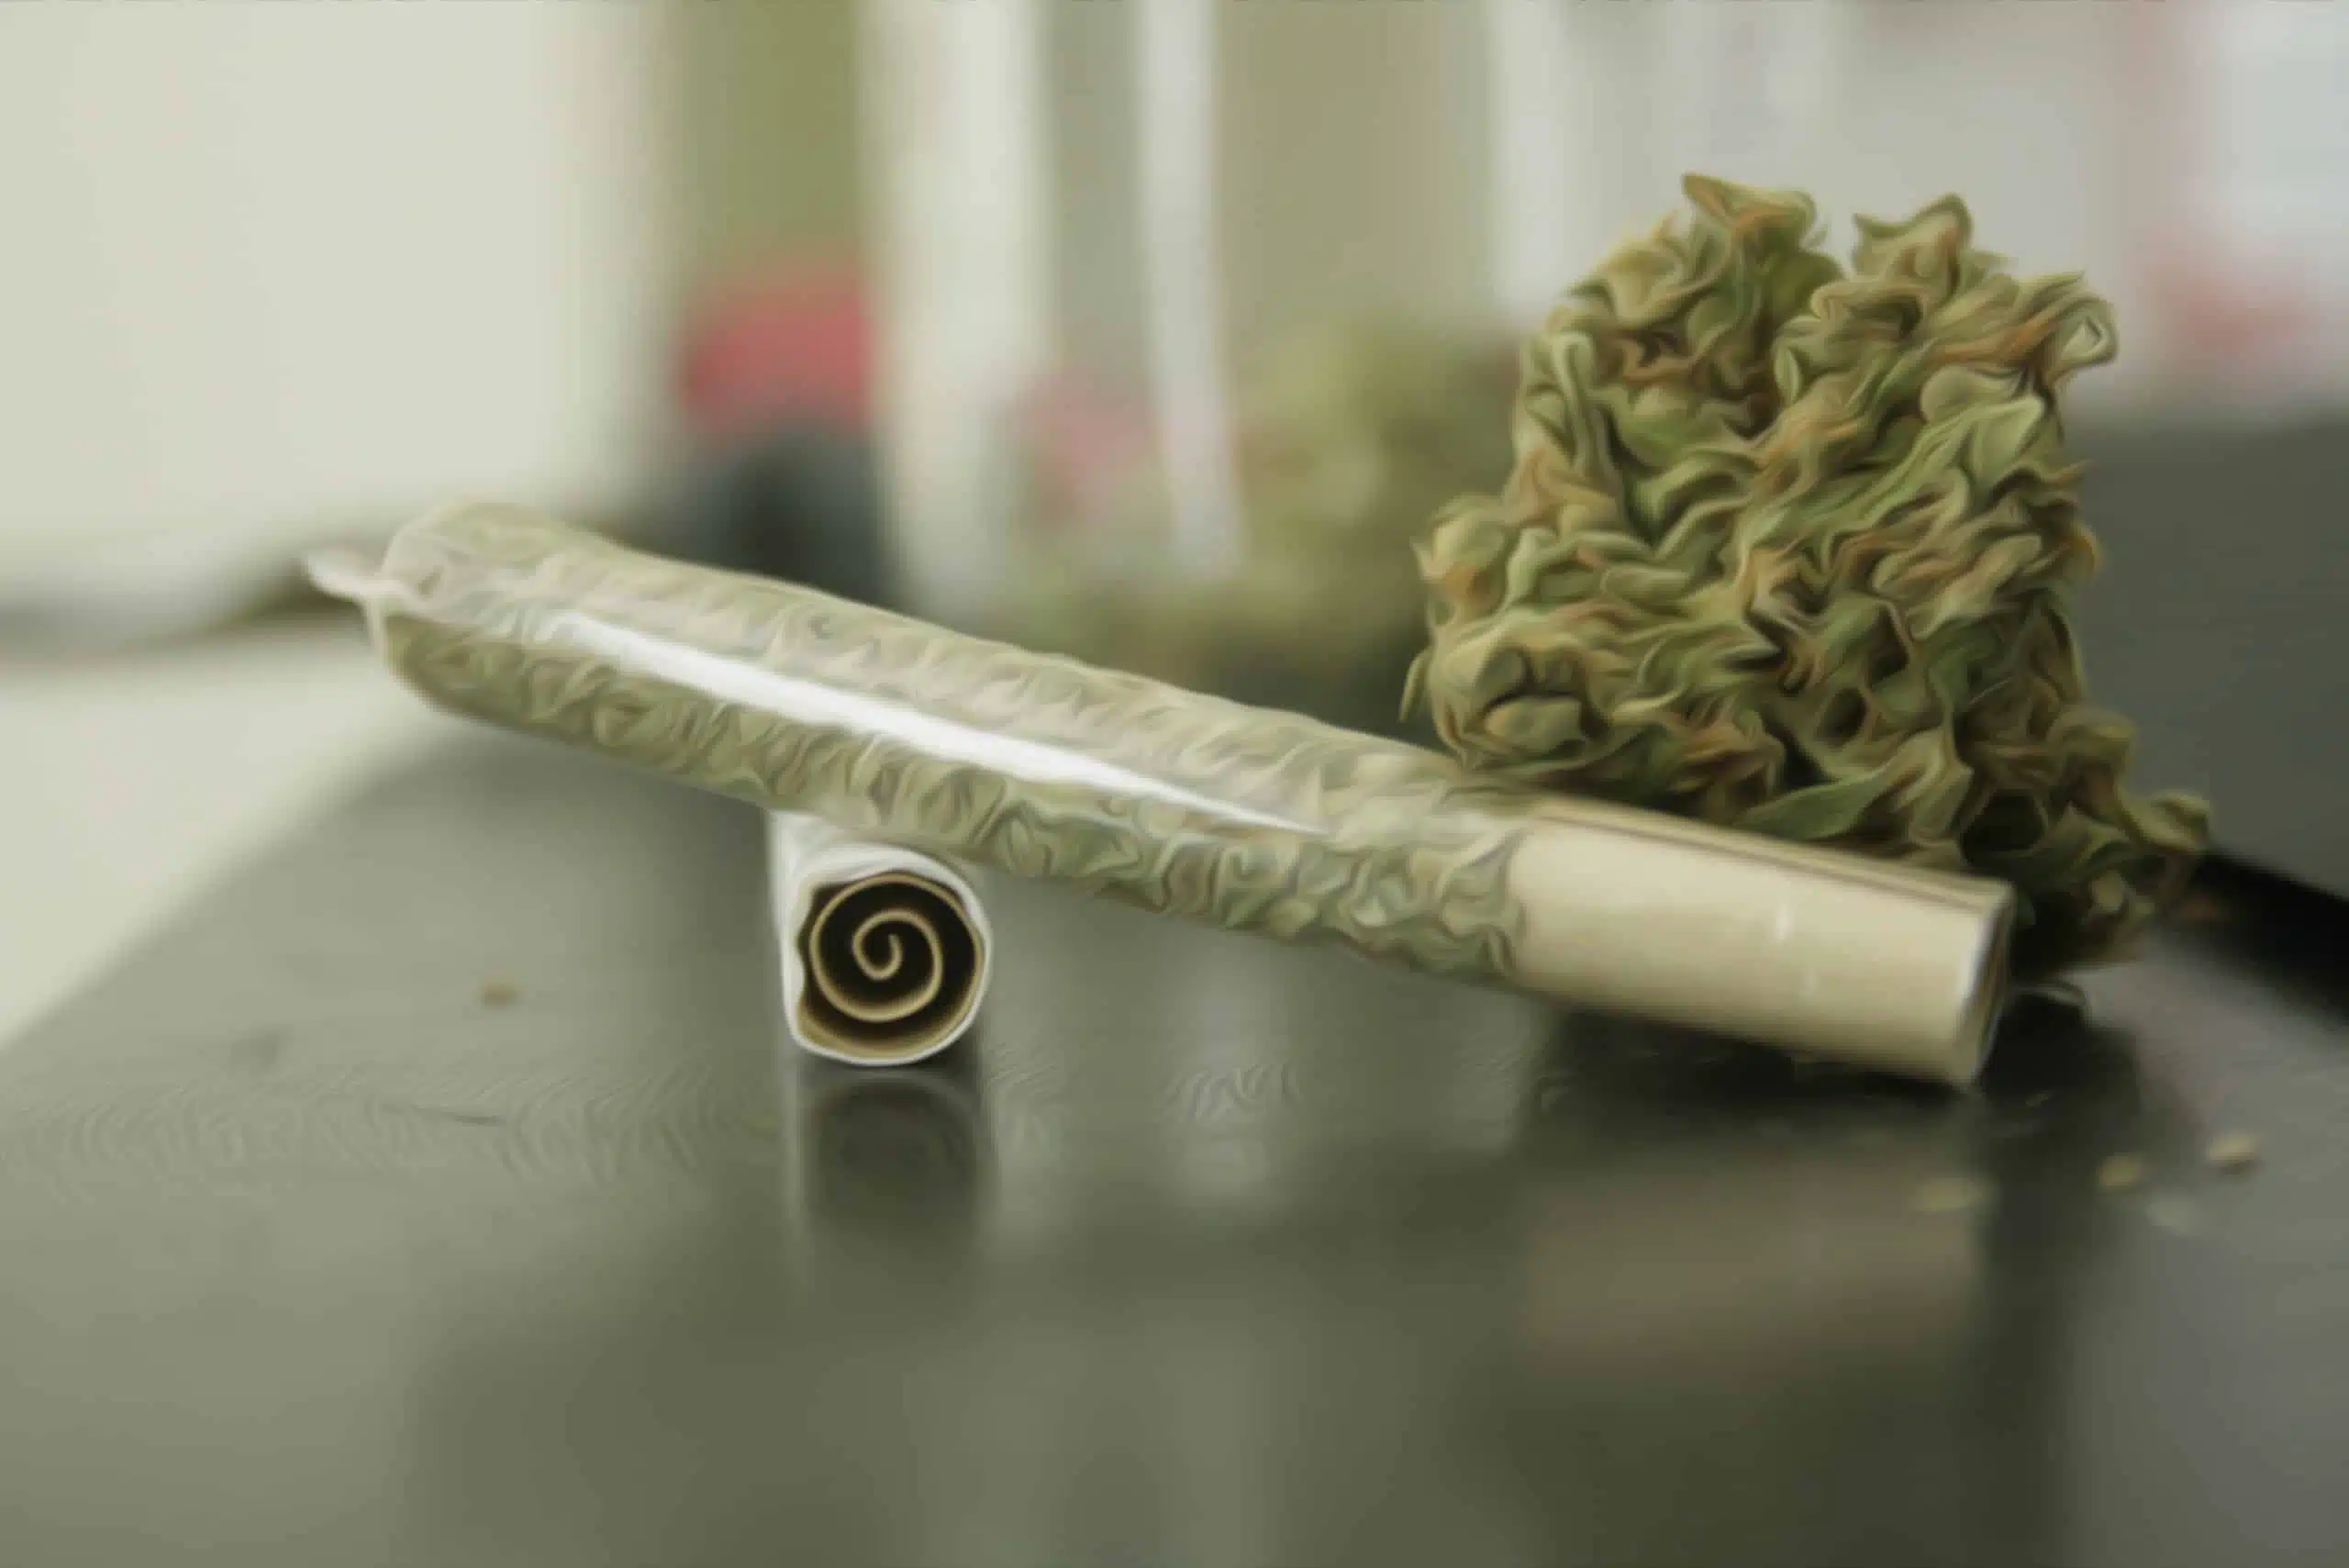
Now, if you have ever smoked a premium pre-rolled joint, you know how important a good filter or “crutch” can be.
Smoking joints would be much less enjoyable without mouthpieces, which not only help keep the joint’s shape but also protect the smoker’s lips from heat.
How to Make a Filter For a Joint: Step By Step Guide
As an added bonus, you’ll receive tips from insiders on where to buy the best cannabis strains and how to save money.
Rolling a filter is simple, and following these tips will help ensure a smooth, elegant smoke.
This step-by-step guide will show you how to make a filter for a joint, giving you a cleaner and smoother smoking experience.
As promised, here are some easy techniques for rolling a filter. These techniques are fool-proof and will help you achieve the perfect roll every time.
Whether you are a complete beginner or a seasoned stoner, anyone can do it.
With a little patience and practice, you’ll get the hang of it.
To create a good joint filter, you will need to gather the necessary materials. First, you will need to determine what kind of materials you need. Once you have gathered the materials, you will need to follow the instructions below.
If you want to get the most out of your audio experience, we always recommend getting a filter tip from a reputable brand that offers the best quality and thickness.
In addition, they are often very pliable and ideal for those new to the craft.
If you don’t have access to expensive materials or you can’t afford them, you can try alternatives. The good news is that you can create a filter from a couple of inexpensive materials. Just make sure to choose a thin, yet sturdy material like a card.
Choose a material that is thicker than standard paper, but not as thick as cardboard, for a elegant and persuasive look.
The best results come from using manila folders, the tops of cigarette packs, and index cards, according to most experienced stoners.
Some potheads recommend avoiding materials with a plastic lining, like some business cards. They say it’s better for your weed.
Additionally, it is advisable to use papers with fewer dyes and ink for smoking. Reusable crutches or pre-made filters are better choices.
If you don’t have a filter for your joint, you can use index cards, back flaps of old chequebooks, magazine subscription cards, or manilla folders.
To roll a perfect joint, follow these simple steps and become a master of the art. This will make your smoking journey even more unforgettable.
Step 1: Take a Thin Piece of Paper
It is best to buy special filter tips from reputable brands.
If you are looking to save money, you may want to try alternative options.
Many stoners believe that thin cards make great filters.
If you are using a thin card, you can cut it with scissors (or just rip it!) to desired dimensions.
It is not necessary for something to be perfect in order for it to be successful or valuable.
Step 2: Create Some Accordion Folds On One End of Your Paper
To create an accordion fold, start by folding your paper in half lengthwise. Then, make 1-inch folds at regular intervals, stopping about 1 inch from the end of the paper. Finally, unfold the paper and flatten the folds to create the accordion effect.
Although it may take a bit of practice, rolling a filter for a joint is actually quite easy. Once you get the hang of it, you’ll be able to do it with ease.
To create your accordion card, start by cutting the card to the desired size. Then, fold the card in an accordion pattern.
Making a few accordion-style folds will make the process much easier.
To create a perfect fold, start by folding the paper in half and then folding in each side. Make sure to avoid creasing the paper as you fold.
If you crease your crutch, you can make it tighter than necessary and it will make drawing smoke more challenging.
Step 3: Roll the Rest of the Paper
To create the perfect folds, start by pinching them down slightly with one hand and then keeping them in place. This will give them a slight springiness that will make them look elegant and persuasive.
Step 4: Wrap it All Up
After you fold the paper, roll the rest of it around the part you just folded. Always leave at least half the paper unfolded so you can wrap it around your crutch.
In conclusion, following these four steps will ensure that your presentation is both elegant and persuasive. By taking the time to carefully plan and prepare, you can ensure that your audience will be left impressed and convinced by your argument.
An excellent job is indicated by a neatly rolled crutch shape formed between the fingers.
Step 5: Add the Crutch to the Joint
Roll the extra paper around the filter and cut off the excess to ensure a perfect fit.
Attach the crutch to the joint to provide support.
You are close to finishing learning how to roll a filter for a joint.
To complete the rolling paper, all that is needed is to add the finished crutch.
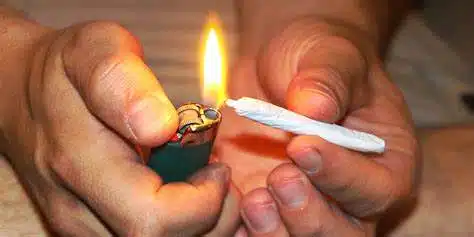
To complete the process, simply roll the joint as you normally would. Then you’ll be ready to start practicing!
Conclusion
If you are interested in cannabis and THC products, check out West Coast Releaf online dispensary at westcoastreleaf.co!
Related Posts

Weed Use In Religious Practices
Weed Use In Religious Practices
Welcome to another exciting blog post about cannabis! In this artic...
The Interesting History Of Weed
The Interesting History Of Weed
Hey there, fellow cannabis enthusiasts! Today, we're going to dive ...
Why Is Weed Plant Health Important?
Why Is Weed Plant Health Important?
When it comes to growing cannabis, plant health is of utmost im...

Fixing Intimacy With Weed
Fixing Intimacy With Weed
Welcome to another exciting blog post where we explore the fascinating wo...

How Weed Makes Us Fall Asleep
How Weed Makes Us Fall Asleep
Hey there, fellow cannabis enthusiasts! Today, we're going to dive in...

How Weed Affects Consciousness
How Weed Affects Consciousness
Hey there, fellow cannabis enthusiasts! Today, we're diving deep int...

Does Weed Affect Reproductive Health?
Does Weed Affect Reproductive Health?
Hey there, fellow cannabis enthusiasts! Today, we're diving i...

Weed And The Visual Arts
Weed And The Visual Arts
Welcome to another exciting blog post where we explore the fascinating rel...

Dream Experiences With Weed
Dream Experiences With Weed
Hey there, fellow cannabis enthusiasts! Today, we're diving into the fa...

Group Therapy With Weed
Group Therapy With Weed
Welcome to a world where cannabis is not just a recreational substance but ...

Can Weed Give You More Energy?
Can Weed Give You More Energy?
When it comes to cannabis, most people associate it with relaxation ...

Does Weed Affect Cortisol Levels?
Does Weed Affect Cortisol Levels?
Hey there, fellow cannabis enthusiasts! Today, we're diving into ...